
How to Photograph the Milky Way
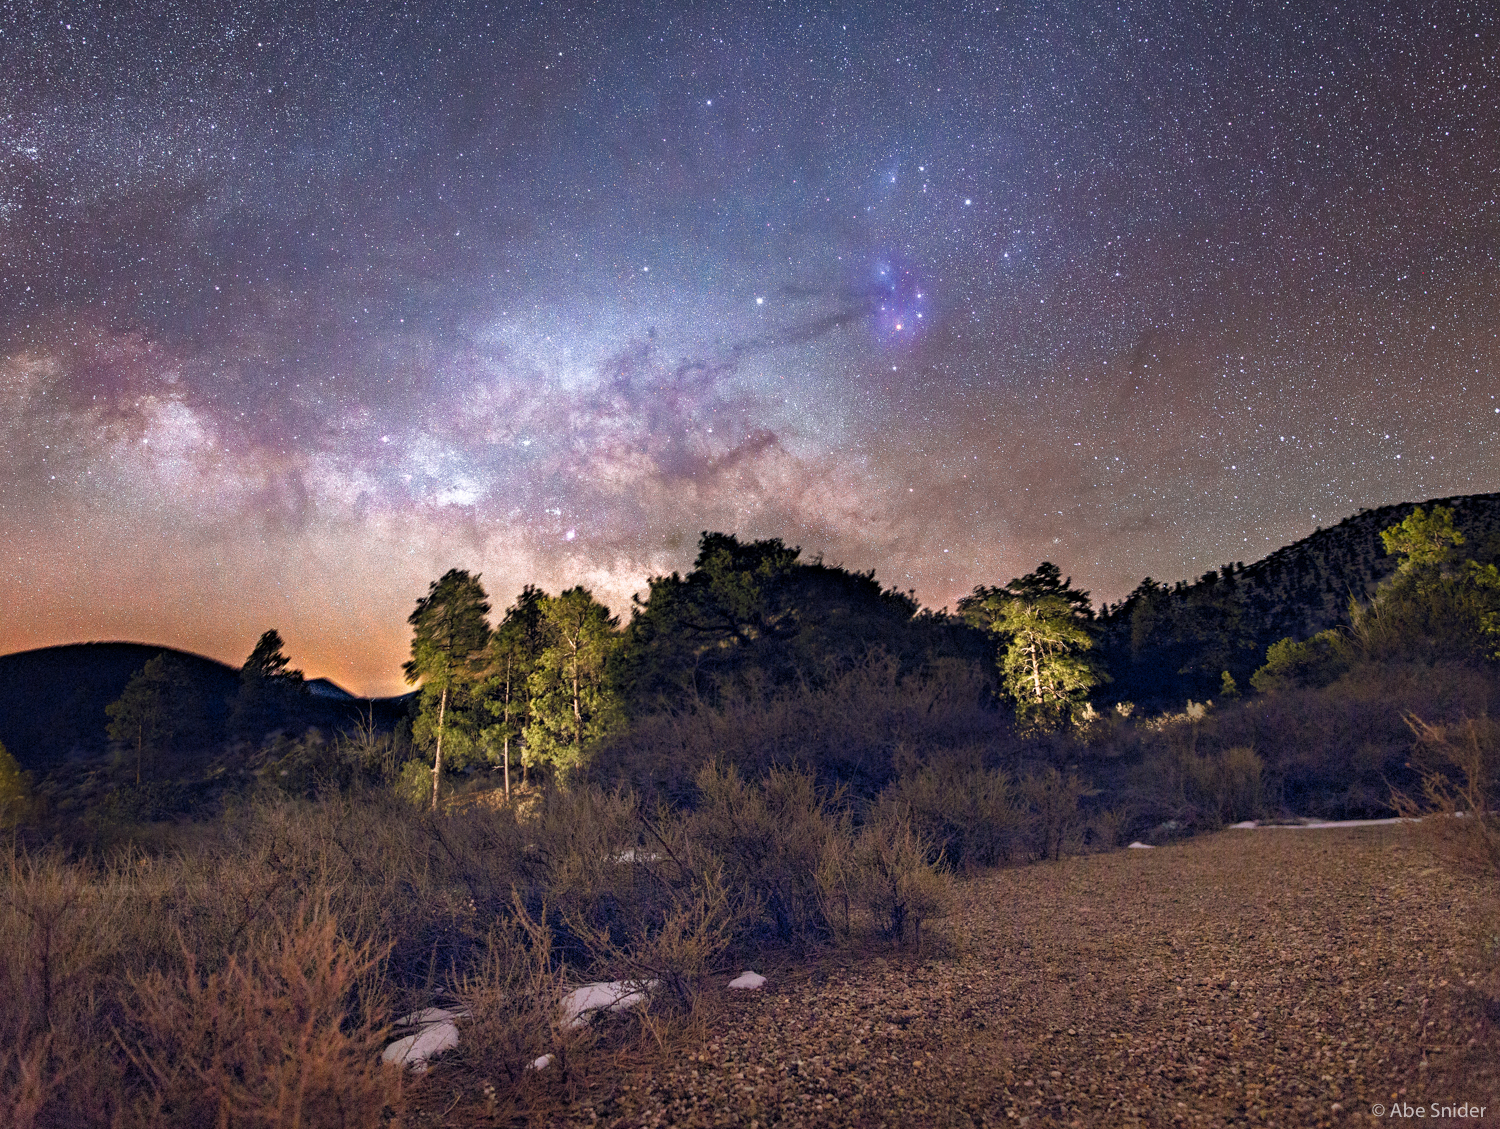
The Milky Way rising in Northern Arizona on a cold winter night.
Recently, after posting some images of the Milky Way, I've was asked how I approach shooting the night sky and how to bring out color and depth. Its a little more complicated than a quick answer so I figured I'd write a guide. After thinking about all the steps and preparation it takes I decided on writing two parts. This is part one and is a brief explanation of some general settings, gear and practices you will want for photographing the night sky. Part two (Coming Soon) is my personal approach at processing either a single RAW file or multiple RAW files using luminosity masks and how to achieve something that is much more vibrant and striking than what you seen on the LCD screen of your DSLR.
To start off you'll need:
A DSLR that can shoot between ISO 1600 & 3200 without showing a huge amount of noise. If you can shoot at ISO 4000 & 6400 that is even better for starting out and will allow you to take shorter exposures which will mean less star blur at the expense of image noise. For those still learning the basics, ISO is your cameras sensitivity to light. The higher the number the more sensitive and the lower the number the less sensitive.

Image Noise Comparison:
A sturdy tripod. I've had excellent luck using the Fotopro C5i. Its very small, very light, and very sturdy. Perfect for world travel.
A fairly wide lens, but also a fast lens. I shoot mostly with a Sigma 50mm f1.4 Prime, a Sigma 24mm f1.4 Art Prime, and occasionally a 14mm Samyang/Rokinon/Bower f2.8 Prime. The Samyang is extremely wide and covers most of the night sky where the Sigma's are useful for a typical landscape and astro combo shot. The Sigma 50mm gives a decent crop of the sky but is still plenty fast enough that I can collect enough light in a short exposure. Alternately using a 24-35mm f2.8 or a 18-55mm f3.5 should still offer a fairly wide view of the sky.
***If you are shooting with an APS-C or crop sensor camera you will have to take into account that the numbers on the lens (18-55mm, 24mm, etc) need to be multiplied by 1.6 to find how it actually performs on your camera. For example an 18-55mm on a Canon Rebel or a Nikon 7000, etc will actually give you a view that is 28-88mm. While being still considered a wide angle lens you may want something from Tamron or Samyang in the 12-22 range which will be much wider on your camera.***
If you are shooting with a full frame camera, ignore that last paragraph as your lens will act the way you would expect. A 24-105mm shows a field of view of 24-105, 14mm is 14, etc.
Next, you'll want to find the darkest place you can. That means if you live in a big city or near one, driving a good hour or two (maybe more) to get away from the light pollution. Ideally somewhere you can't see any city glow with the naked eye. On top of that, if you are willing to brave the elements, a colder night is also generally better to shoot on than a hot summer night because you will find less noise in your images.

Gunns Camp New Zealand is one of the darkest skies i've ever seen.
Now that you are out there and ready to shoot there are still a few things you'll want to keep in mind. For one, stacking multiple images is an excellent way to 'cheat the camera' and overcome large amounts of noise.
Now that you're probably confused, let me explain.
If you take one exposure at 30 seconds, ISO 6400, and f2.8 (as long as you are away from heavy light pollution) you should have a pretty decent shot of the Milky Way. This works for most people but their images are full of noise. If you are looking for an easier approach and are not bothered by image noise those settings should work fine for you to start out with.
Alternately, if you are in for some extra work and want to achieve clean, nearly noise free images you'll have to practice the art of stacking. To do so, you'll want to to take 8 shorter exposures at say, 15 seconds, ISO 1600 and f2.8 and you will have the equivalent of shooting for two minutes at a lower ISO. That means far less noise and more to work with when processing! You will need to stack those images and you'd be amazed at what they can become after using the digital darkroom. If you have money burning a hole in your pocket you could always go out and invest in a star tracker but that is a whole other blog post.
This image below is the outcome of stacking many images in Photoshop and processing using luminosity masks. To view more of my night sky images click this link to go directly to the gallery.
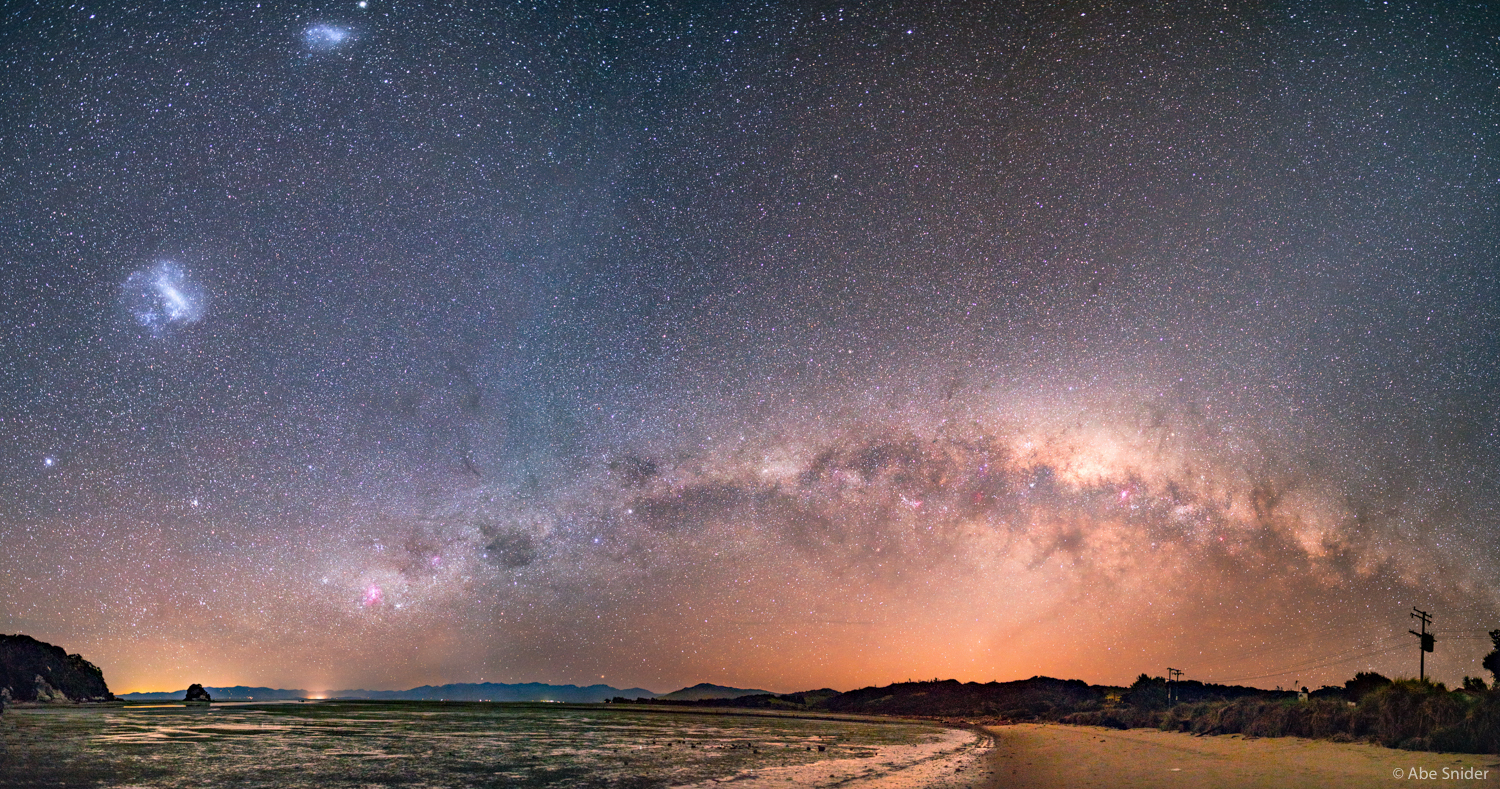
Full view of the southern night sky.
Finally, there is something called the 600 rule. Basically this allows you to calculate how long you can make an exposure while avoiding star blur that is caused by the rotation of Earth. To do this you divide 600 by the focal length you are shooting at.
For example, if i'm shooting with my 14mm Samyang I will divide 600 by 14 which comes out to nearly 43 seconds. Now if you are a pixel peeper and you follow this rule there may still be some star movement if you smash your face against the screen. The rule works so that if you are looking at an image as you would if you printed it out and didn't have a magnifying glass it would appear to be free of star movement. To completely avoid star movement you will want one of these.
So in summary:
Plan ahead. At different times a year the Milky Way might not be high up in the sky until past midnight. Other parts of the year it might be best just after sunset.
Find a dark spot.
Use a wide, fast lens.
Use a sturdy tripod.
Think about the 600 rule. If you want star blur, i.e. star trails, definitely do not follow this rule.
Shooting shorter exposures but multiple times and stacking is almost always better than shooting one longer exposure and calling it a night.
Be patient.
Practice
Bring extra batteries.
Bring a friend! The night sky is always best when its shared.
Have FUN! I went out countless nights trying to find a good dark spot and countless more finding what worked best for me.
The settings I generally would recommend shooting at are: f2.8-f3.5, Between 12-24mm, ISO 1600-3200, 10-30 Seconds.
Now that you've got the basics down, get out there, be creative with your angles and foreground and make some beautiful images.
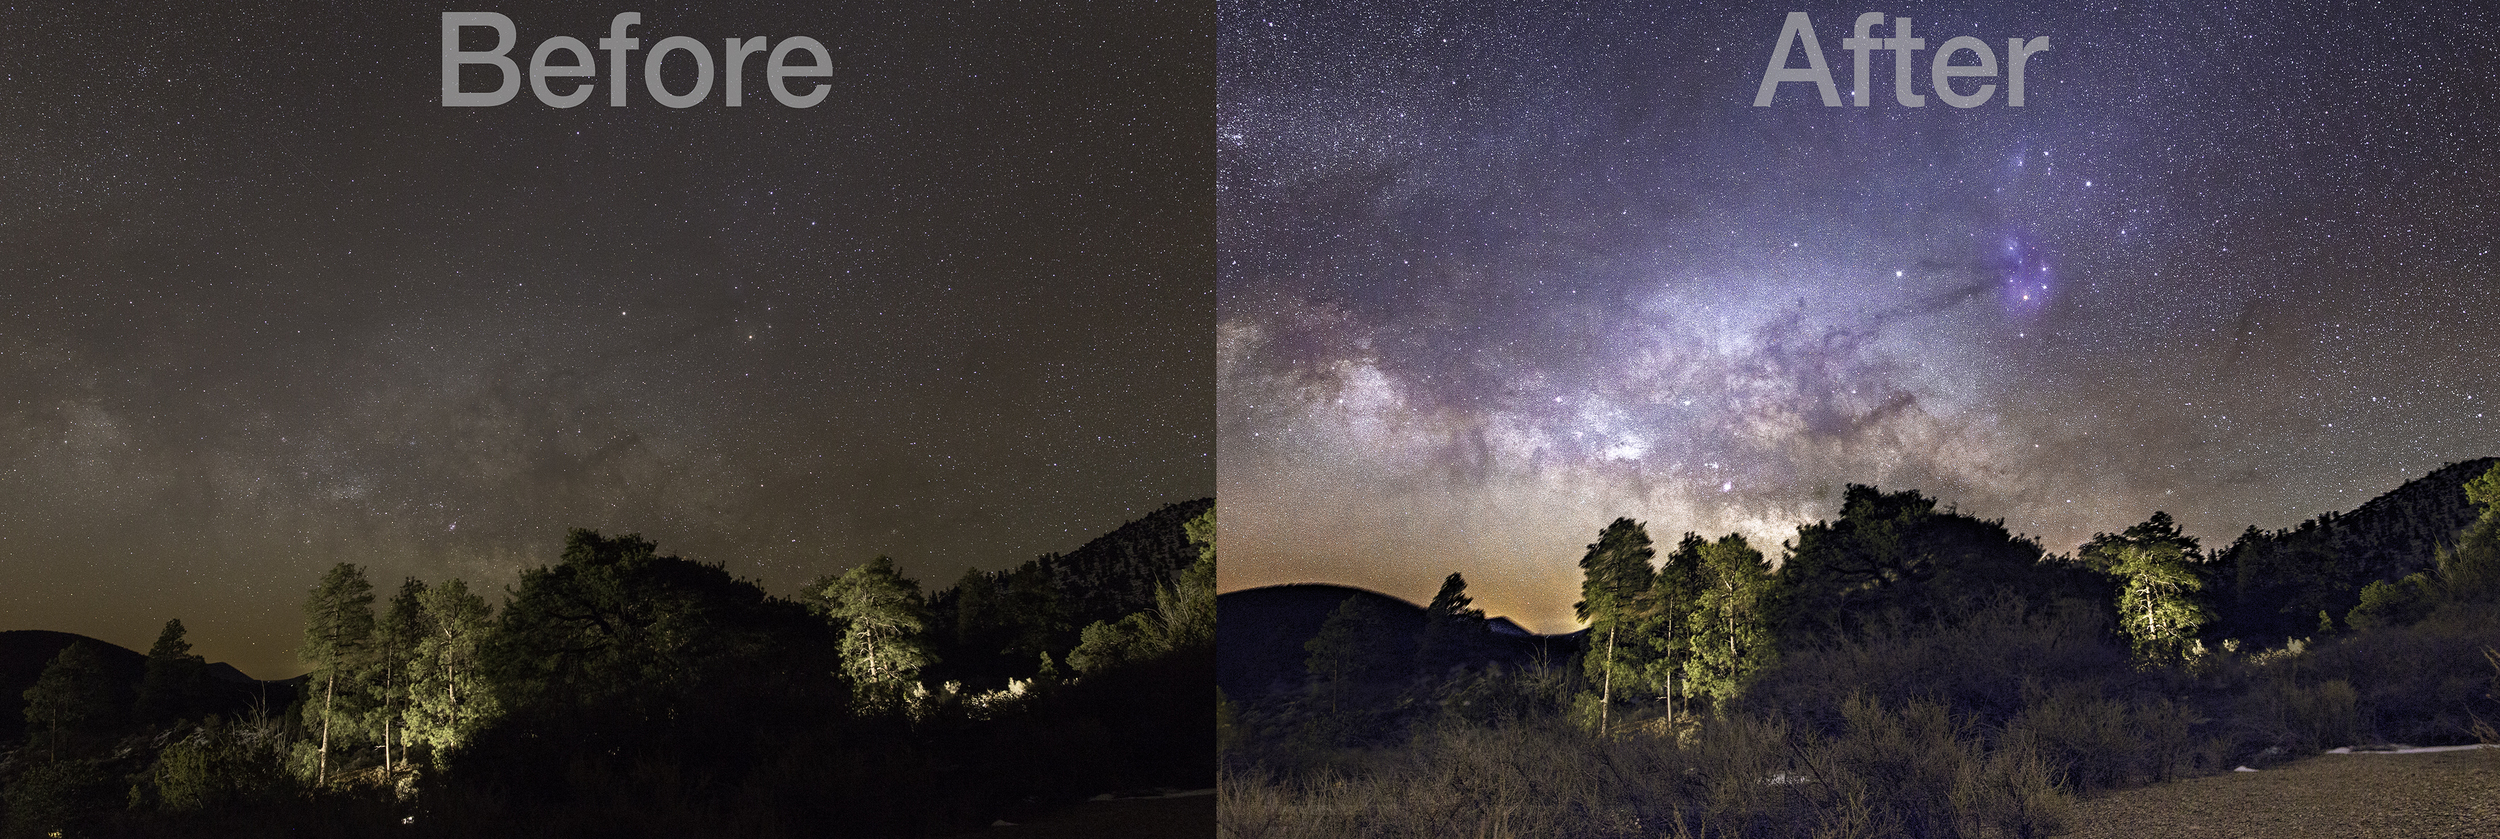
To read my post about how to take an image from the one on the left to what's on the right (below) click "Here". If you have a question just drop me a comment below or use the contact tab above.
Good luck!